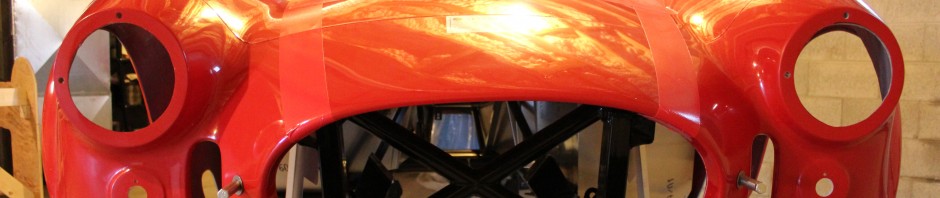
My next area was in the trunk. I chose to purchase a battery box to install in the trunk area. The base kit has the battery mounted on the upper trunk floor. The aftermarket part allows the battery to be located beneath the floor, more about
remedy freeing up trunk space as well as creating a cleaner look.
 I attached a mounting brace to the box, and then tried to fit it into the opening. Unfortunately, the support was too long, so I had to do quite a bit of cutting and grinding to get it to fit. Once this was done, I started riveting the box to the chassis support frame and then bolted the support brace. With the box in place, I could then begin fitting up the trunk aluminum.
 For the most part this was fairly straightforward.Â
I had to cut out an opening in the upper trunk floor that allowed access to the battery box, but the rest of the pieces fit fairly well. I marked and drilled the aluminum and the mounting surfaces on the chassis. I had decided to carpet the trunk but also want to insulate at least the upper and lower floor pieces, so I had to trace, measure and cut the insulation to fit. This took a while but was not difficult. I will also use this piece to then trace and cut the carpet piece for the floors.

Last, I began to work on the battery cables. I had purchased an Optima Red Top battery and checked it for fit in the box. I ended up having to grind the plastic covers for the side terminals a bit to allow it to fit. Otherwise it was fine. I then did a bit of grinding on the opening for the ground wire so it would fit. I also drilled a hole and ground down the powder coating to the bare metal to get a good grounding surface and bolted the ground strap in place.

Last I ran the positive cable from the battery box up to the front of the vehicle, where I will attach it to the starter solenoid. More pictures are in the Gallery.