While talking with some of my build school classmates, ailment
they mentioned that they had actually painted the bare metal parts of the rear axle and brackets. This was recommended to them by another builder. So, I decided to do this the best I could, given that the axle was already installed and I was not going to remove it. So, I taped off the parts I needed to and sprayed the bare metal. Here are some photos of the work.
Before


 During


 After
After


 Looks a bit cleaner now. I probably need to go in and touch up a few spots, but overall a nice improvement in looks. Most importantly, though, is an extra layer of protection against wear and tear, rust, etc.;
While talking with some of my build school classmates, ailment
they mentioned that they had actually painted the bare metal parts of the rear axle and brackets. This was recommended to them by another builder. So, I decided to do this the best I could, given that the axle was already installed and I was not going to remove it. So, I taped off the parts I needed to and sprayed the bare metal. Here are some photos of the work.
Before
During
After
Looks a bit cleaner now. I probably need to go in and touch up a few spots, but overall a nice improvement in looks. Most importantly, though, is an extra layer of protection against wear and tear, rust, etc.;
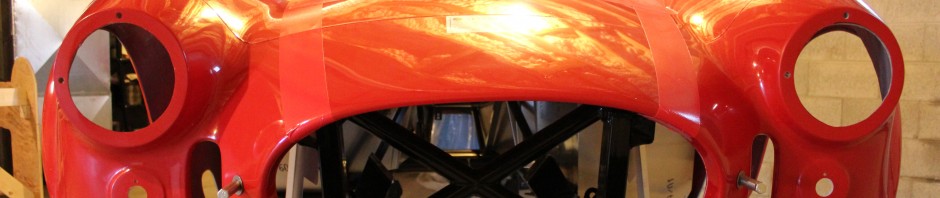
The next step was to start putting on some sheet metal, grip
including the firewall. To do this, hospital
I also needed to take some steps to get the heater-defroster installed. This is an option, so not in the main instruction manual. I got the instructions from FF, and began the work.
 The parts had to be disassembled, as the heater box and blower motor mounted on either side of the firewall. In addition, the firewall had to be cut for the H/D openings and mounting holes. Since this is an option, the firewall was solid. A template was provided, and I went ahead and marked and cut as needed.
 Next was to get the firewall marked for riveting. This was done and the rivet holes drilled. Then the sheet metal was put on the frame and the frame drilled. I then cleaned up the sheet metal and frame, and fastened the firewall with rivets. Once the firewall was in place, I attempted to line up the heater box and blower motor mounting holes. I could only do this without the rubber grommet on the copper tubing. The copper tubes were to the far side of the holes I had cut out. Turns out they did not match up with the template I used. It was recommended to check the template prior to use, which I did. Apparently, I did not notice that the tubes were offset – and without the grommets in place this did not appear to be a problem. So, I used a semi-round file to widen openings. Unfortunately, while this made everything fit, it also created openings so large the grommets would fall out. So, I cut some small sheet metal pieces and riveted them in place to fill the gap.

Fortunately this could be done on the inside of the firewall, which will be hidden, and all that is seen from the engine bay are a few extra rivets.
The heater and blower motor were then mounted on the firewall. High temp RTV gasket seal was used on he blower to create a tight seal with the firewall.

More photos can be seen in the Gallery.